The Power of Patience: Why Resting Dough is Key to Baking Success
The Secret Ingredient You Can’t See
Resting dough is more than just waiting — it’s an active, transformative process where real magic happens at the microscopic level. When you mix flour, water, yeast, and salt, enzymes in the flour begin breaking down starches into simpler sugars. These sugars feed the yeast, which ferments and produces carbon dioxide gas. That gas forms tiny bubbles, creating the airy texture that gives baked goods their lightness.
But there’s even more going on under the surface. As the dough rests, gluten proteins gradually relax and realign into a strong, elastic network. This network is crucial — it traps those gas bubbles and supports the dough as it rises. The result? A dough that’s easier to work with and bakes into a loaf with a beautiful, open crumb.
Visualize the Transformation
-
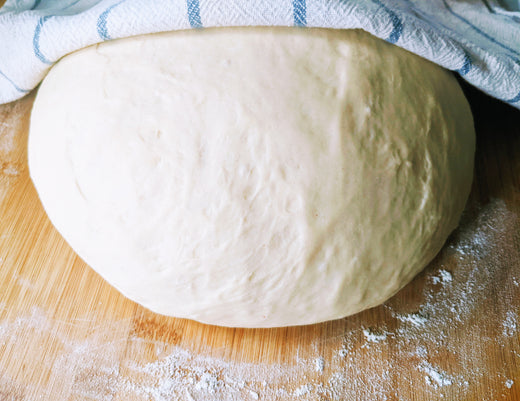
Before resting: Gluten strands are tight and tangled — the dough feels tough and resists stretching.
-
After resting: Gluten relaxes into a smooth, elastic web — the dough becomes soft, supple, and easy to shape.
Flavor also deepens during this time. As fermentation continues, organic acids and alcohols develop, lending complexity and richness to your final bake.
Examples
-
Pie Dough: Chilling and resting the dough prevents shrinkage and tearing when it’s moved to the pie plate.
-
Croissant Dough: Resting between folds helps create defined, flaky layers and keeps the dough from becoming overly elastic.
-
Pizza Dough: Resting lets the gluten relax, making it easy to stretch into a thin, even crust.
Techniques to Improve Dough Resting
Here are three tried-and-true methods to take your dough to the next level:
-
The Autolyse Method
Mix only flour and water and let it rest for 20–60 minutes before adding yeast and salt. This jumpstarts gluten formation and improves extensibility, making the dough more workable and flavorful. For a deeper dive into the science and benefits of autolyse, read this article.
-
Cold Fermentation
Letting your dough rest in the fridge for 12 to 72 hours slows fermentation. This extended rest develops deeper flavors and a chewier texture — a hallmark of great artisan bread.
-
Bench Resting
After dividing or shaping your dough, let it rest at room temperature for 15–30 minutes. This relaxes the gluten, making final shaping easier and more precise.
Common Mistakes to Avoid
-
Rushing the process: Skipping or shortening rest times often leads to dense, chewy results.
-
Letting dough dry out: Always cover with a damp towel or plastic wrap to prevent a skin from forming.
-
Over-proofing: Leaving dough too long can cause it to collapse and lose its structure — especially during the final rise.
Why the Rolling Pin Matters
Resting your dough is essential, but so is the tool you use to handle it. That’s where The Rolling Wonder comes in. This hybrid rolling pin combines the powerful, balanced handling of a classic American pin with the finesse and tapered control of a traditional French dowel.
The result? Smooth, even pressure across your dough — minimizing stress on the gluten network and allowing your rested dough to stretch and shape with ease. It’s a thoughtful evolution in rolling pin design that respects the science behind perfect baking.

Final Thoughts
Resting dough is like giving it a spa day — a simple, essential pause that relaxes gluten, enriches flavor, and sets the stage for bakery-worthy results. Whether you’re a weekend baker or a seasoned pro, patience truly pays off. And when paired with the right tools, the results speak for themselves.
References
Salvador, A., Sanz, T., & Fiszman, S. M. (2006). Dynamic rheological characteristics of wheat flour–water doughs. Effect of adding NaCl, sucrose and yeast.
Paz, P., & Mújica, F. (2021). The Effect of Dough Resting Time and Sheeting on the Quality of Sheeted Dough Products. Journal of Food Processing and Preservation.
Aït Kaddour, A., & Cuq, B. (2011). Dynamic NIR spectroscopy to monitor bread dough mixing: A short review. American Journal of Food Technology.